
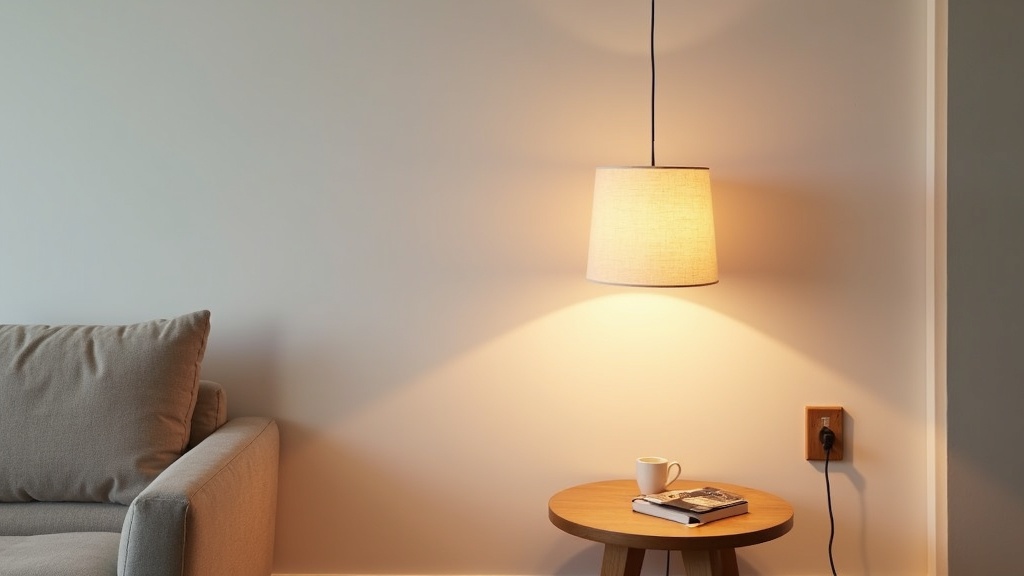
Most rental apartments have one thing in common: a bare ceiling bulb in the middle of the room, doing nothing for the mood and everything for the overhead glare. You cannot hardwire a new fixture. You cannot drill into the ceiling. But you can have a pendant light by tonight, with no tools, no landlord permission, and no deposit at risk.
This guide covers every method that genuinely works, what to buy, how to hide the cord cleanly, and how to reverse all of it in minutes when you move out.
Key points at a glance
- Plug-in pendant lights are the cleanest renter-friendly solution: one swag hook, one outlet, done.
- Swag lamps loop the cord from a ceiling hook to the wall, keeping it tidy and intentional-looking.
- Battery-powered and rechargeable pendants need zero cord management, but check lumen output before buying.
- Adhesive cord clips and paintable cord covers hide the wire without a single nail hole.
- Shade size, bulb warmth, and hanging height matter more than the fixture itself.
- Every method here reverses completely in under five minutes when you move out.
What this approach gives you
Why Pendant Lights Change How a Room Feels (Even in a Rental)
Good lighting does not announce itself. It settles into the room and changes how everything else looks: the color of the walls, the texture of a throw, the sense of depth in a small space.
A pendant drops the light source down from the ceiling and closer to the surfaces that matter: a table, a reading chair, a kitchen counter. That shift alone makes a room feel more deliberate, more lived-in.
Overhead light flattens a room. Pendant light gives it layers. This is true in a rented studio just as much as in a designed home.
The Three No-Installation Methods That Actually Work
There are three routes worth knowing. Each suits a different situation, budget, and comfort level.
- Plug-in pendant: cord runs from the canopy to a wall outlet, fixture hangs from a swag hook on the ceiling
- Swag lamp: same principle, but traditionally refers to a pendant or globe shade looped on a chain between two hooks
- Battery or rechargeable pendant: completely wire-free, hangs from an adhesive hook, no outlet needed
All three leave the ceiling intact. All three pack into a box when you leave.
Plug-In Pendant Lights: The Cleanest Solution
A plug-in pendant light is exactly what it sounds like: a pendant fixture with a cord that ends in a standard plug. You hang it from a swag hook screwed lightly into a ceiling joist, or from an adhesive ceiling hook rated for the weight, and run the cord to the nearest outlet.
The cord is part of the design. Many come with textile-covered cables in black, white, or natural cotton. Run the cord along the ceiling edge and down the wall, and it reads as intentional, not makeshift.
What to check before buying:
- Cord length: most are 150 to 200 cm, measure your ceiling-to-outlet distance first
- Bulb type: E26 or E27 Edison base fits most standard bulbs, including dimmables
- Canopy size: a wider canopy sits flatter and looks more built-in
Did you know?
Adhesive ceiling hooks from brands like 3M Command are rated to hold up to 2.2 kg (about 5 lbs), which is more than enough for most fabric or paper pendant shades. Check the packaging for the specific weight rating before hanging.
Swag Lamps: Old Idea, New Execution
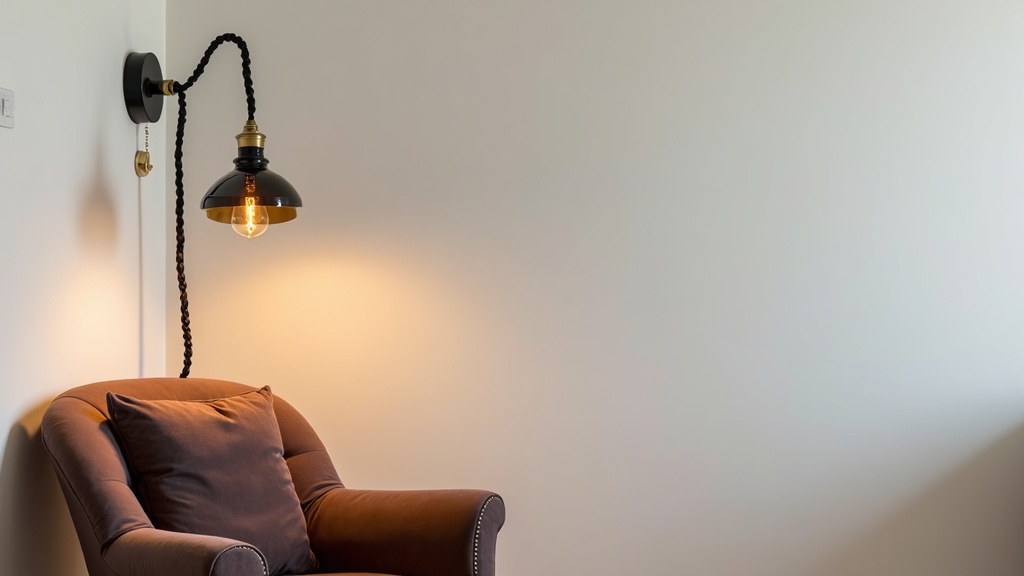
The swag lamp has been around since the 1950s. The cord loops visibly from the fixture to a wall anchor, creating a gentle drape. Done well, it looks architectural. Done badly, it looks like an extension cord accident.
The difference is in the cord and the hook placement. A braided fabric cord in a neutral color, looped at an intentional angle, reads as a design choice. Place the ceiling hook directly above your target zone, and add a second small hook near the wall to guide the cord down cleanly.
Modern swag lamps often use the same plug-in mechanism, so they work exactly the same way. The distinction is mostly aesthetic: swag implies the visible loop, while plug-in implies the cord runs more discreetly along surfaces.
Battery-Powered and Rechargeable Pendants: How Good Are They Really?
The honest answer: they have improved significantly in the last two years, but they are not equivalent to a wired pendant for primary lighting. They work best as accent or task light in low-traffic spots.
What works well: rechargeable battery-powered pendant lights with warm LED chips (2700K), a fabric or rattan shade, and a magnetic charging base. Some models offer 8 to 20 hours per charge at low brightness settings.
What to watch for: anything below 200 lumens is too dim for reading. Look for at least 300 lumens and a warm color temperature. Avoid anything that ships with AA batteries as the primary power source: they drain fast and the output is inconsistent.
Best use cases: above a bedside table, inside a bookshelf nook, or over a bathroom vanity where running a cord is impractical.
Did you know?
The color temperature of a bulb changes how a room feels at a neurological level. Bulbs at 2700K (warm white) lower perceived stress and signal rest. Bulbs above 4000K (cool white) increase alertness. For a living room or bedroom pendant, stay between 2200K and 2700K.
How to Hide the Cord Without Damaging Anything
A visible cord is only a problem if it looks accidental. Here are the options that leave no trace.
- Adhesive cord clips: small plastic or metal guides that stick to the wall and hold the cord flat. Remove cleanly with dental floss and a hairdryer.
- Paintable cord cover channels: a slim plastic channel that the cord sits inside, stuck to the wall with adhesive backing. It can be painted to match the wall exactly.
- Cord cover ceiling hook: a hook that grips the cord at the ceiling transition point, preventing it from swinging and creating a tidy right angle.
- Running the cord along a baseboard: at floor level, a cord is nearly invisible and requires only a few small adhesive clips to secure it flat.
| Method | Best for | Removal | Trace left |
|---|---|---|---|
| Adhesive cord clips | Short cord runs along a flat wall | Hairdryer + dental floss | None if removed warm |
| Paintable cord channel | Long vertical cord drop on white walls | Peel and patch lightly | Minimal adhesive residue |
| Baseboard routing | Cord running across the room to outlet | Pull clips off cleanly | None |
| Visible braided cord (styled) | Swag lamp as a design feature | Just unplug and unhook | None |
| Ceiling hook cover plate | Tidying the cord at the ceiling join | Lift off, fill hook hole | Small pinhole at most |
What to Look for When Buying: Shade, Scale, and Warmth
The fixture is secondary. What you are really choosing is the quality of light the shade produces, and whether it fits the scale of the room.
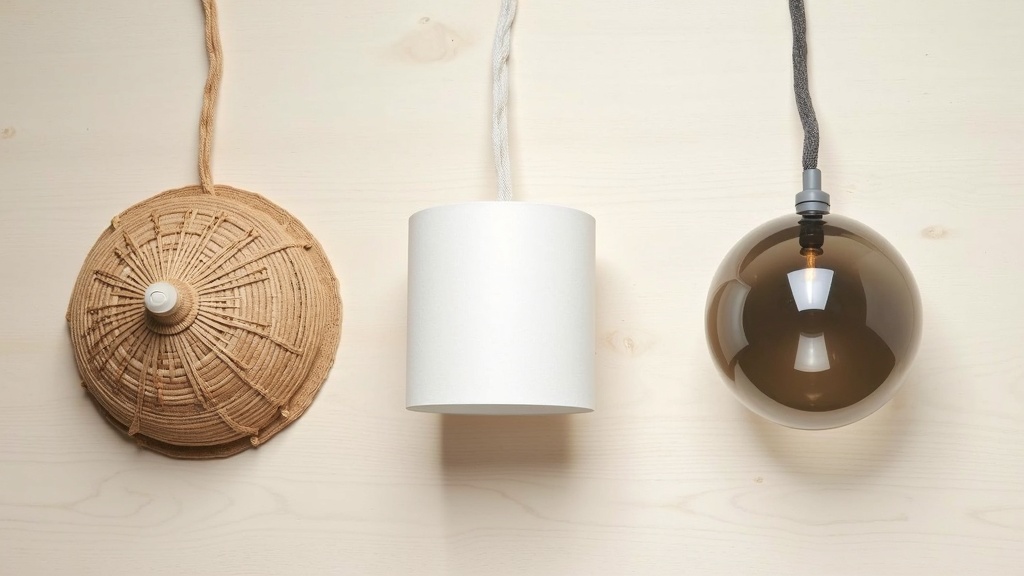
Shade material
Fabric and linen diffuse light softly and cast warm tones on surrounding walls. Paper and washi give a similar effect at lower cost. Metal shades direct light downward more sharply, which works well over a table but can feel harsh in a bedroom.
Scale
A shade diameter of 30 to 40 cm suits most apartment spaces. Go smaller and the pendant disappears. Go larger and it crowds a low ceiling. Measure the ceiling height first: in rooms under 240 cm, keep the bottom of the shade at least 190 cm from the floor when hanging in a walkway.
Bulb warmth
A 2700K LED at 400 to 600 lumens is the right range for most pendant applications in living areas. Pair it with a fabric shade and the light becomes amber, slow, and easy to be around.
Rooms That Benefit Most From a Pendant (and Where to Position It)
Not every room needs a pendant. But some spaces are genuinely transformed by one placed in the right spot.
- Living room: above the coffee table or a reading chair, not in the center of the room. A pendant off-center creates visual interest and defines a zone.
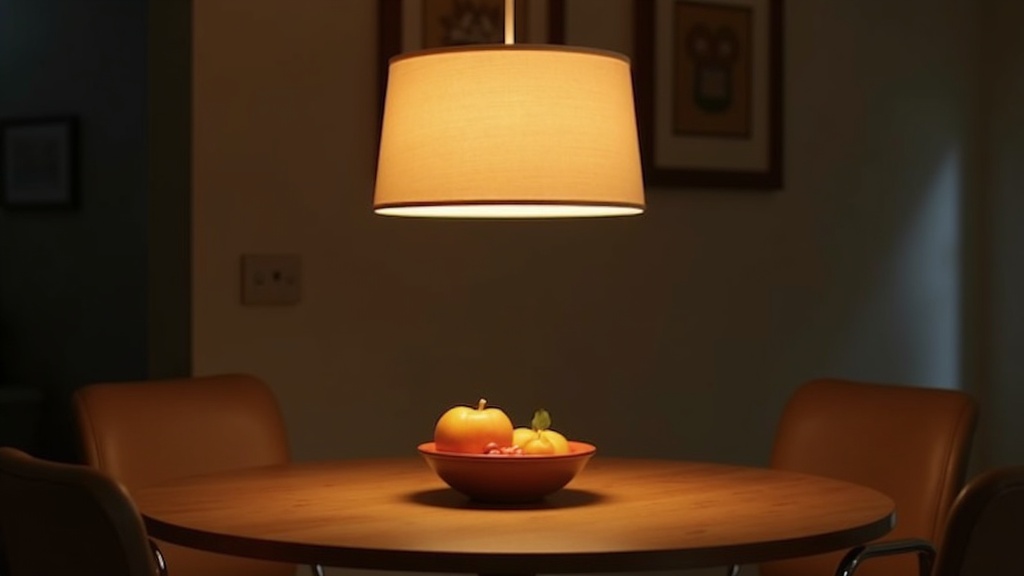
- Dining area: centered above the table, hung so the bottom of the shade sits roughly 70 to 75 cm above the tabletop. This is the single most impactful lighting change in any apartment.
- Bedroom: flanking the bed on each side works well if you have two plug-in pendants. A single pendant above a small nightstand also reads well in compact rooms.
- Kitchen counter: where overhead lighting is weak, a low-hanging pendant above the prep area adds both function and atmosphere.
Before You Move Out: Putting Everything Back in Five Minutes
This is the part that makes the whole system worth trusting. Every element of a properly set up plug-in pendant installation reverses without tools.
Step by step:
- Unplug the cord from the wall outlet.
- Remove adhesive cord clips with a hairdryer on low heat for 20 seconds each, then slide dental floss behind to release the adhesive cleanly.
- Lift the pendant cord off the swag hook.
- If the hook was a small adhesive ceiling hook, remove it the same way. If it was a screw-in hook, unscrew it and press a small amount of spackling paste into the hole with your finger. Sand flat when dry. This takes two minutes.
- Pack the fixture in its original box or in a padded bag for the next apartment.
Light placed well does more for a room than any renovation. And when the light travels with you, every next apartment starts closer to feeling like home.


