
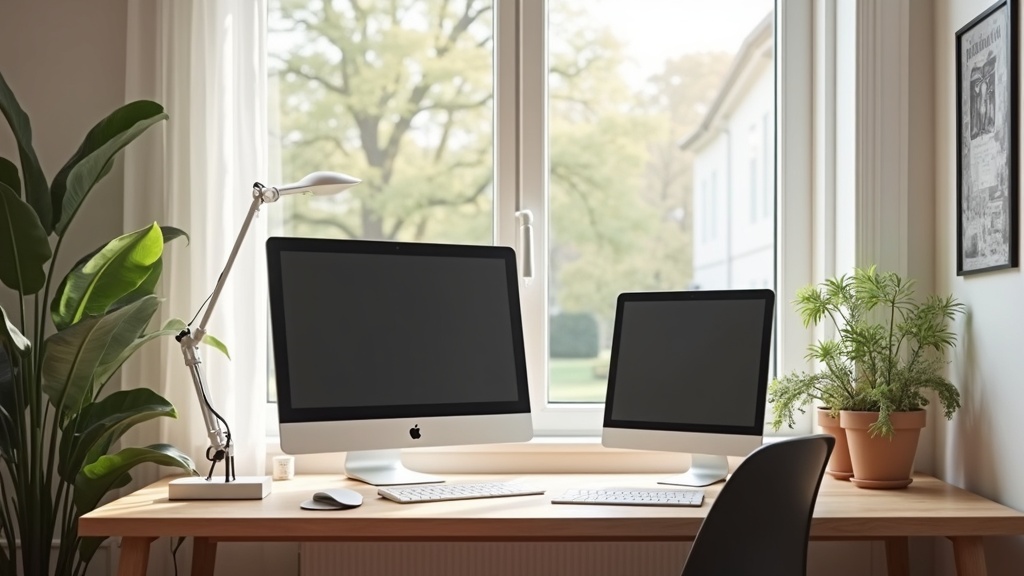
Glare is not a screen problem. It is a light problem. And the fix is almost never buying a new monitor.
Most home office lighting fails in the same quiet way: too much from one direction, not enough from another, and a headache by 3pm that you blame on the workload. Getting the light right changes the whole room. Not dramatically. It just settles in and stops costing you energy.
Key points at a glance
- Glare comes from light hitting your eyes indirectly, via screens, glass, and walls, not just from bright windows.
- Every home office needs three light sources: ambient, task, and accent. One is never enough.
- Desk position relative to your window matters more than the wattage of any bulb.
- Natural light is an asset, not an enemy. The goal is to diffuse it, not block it.
- For video calls, front-facing light at eye level is the single biggest upgrade you can make.
- A ten-minute lighting audit can identify every problem source in your room.
What good lighting actually gives you
Why Glare Is a Lighting Problem, Not a Screen Problem
Glare happens when your eyes encounter a bright light source that is significantly brighter than its surroundings. Your pupils cannot reconcile the contrast. So they constrict, strain, and eventually ache.
The monitor reflects what is behind you. A bright window to your side bounces off the screen at an angle. Even a white wall in direct sun can cause veiling glare, a washed-out haze that reduces contrast without you realising it.
Adjusting screen brightness or buying an anti-glare filter treats the symptom. Repositioning the light treats the cause.
The Three Light Sources Every Home Office Needs
One overhead light is not a lighting setup. It is a starting point at best.
A properly layered home office uses three types of light:
- Ambient light: the general fill for the room. Ceiling fixture, floor lamp, or both. It sets the baseline brightness so your screen is not the brightest thing in the room.
- Task light: targeted, positioned exactly where you work. A good desk lamp on the non-dominant side eliminates shadow on your keyboard and reduces contrast fatigue.
- Accent light: a wall sconce, a lamp behind the monitor, or LED behind the desk. It softens the transition between bright screen and dark wall. This is the one most people skip, and the one that makes the biggest difference.
Bias lighting, a strip of soft warm light placed behind your monitor, reduces perceived contrast between the screen and the wall. Your eyes work less. That is the entire point.
Where to Position Your Desk (Light Direction Matters More Than Brightness)
The rule is simple. Windows to the side, never behind you, never in front of you.
Behind you means the window reflects in your screen. In front of you means you are staring into the light all day. To the side, ideally at a 90-degree angle, the light falls across your workspace without landing on the screen.
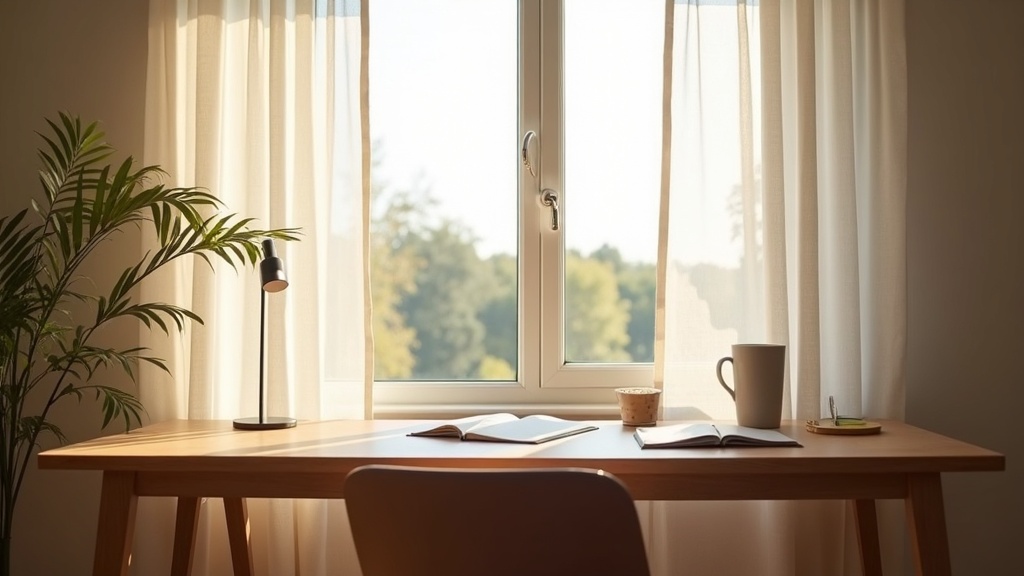
If you must sit facing a window, a sheer linen curtain diffuses the light without cutting it. You keep the daylight. You lose the direct beam.
Did you know?
The American Optometric Association recommends that your screen brightness match your surrounding environment. When the room is darker than the screen, your eyes must constantly re-adapt, which is a primary driver of digital eye strain over long work sessions.
How to Handle Natural Light Without Losing It
Natural light is the best light for a home office. It is also the most variable.
The goal is diffusion, not elimination. Sheer curtains, frosted window film, and adjustable slatted blinds all scatter direct sunlight into a broader, gentler fill. You keep the mood. You lose the beam.
Matte finishes on walls and desks absorb rather than bounce light. Gloss paint, glass desk surfaces, and polished monitors all act as secondary light sources. Switching from a gloss to a matte desk surface can remove one glare source entirely, without changing a single bulb.
Choosing the Right Bulbs: Color Temperature and CRI Explained Simply
Color temperature is measured in Kelvin. The higher the number, the cooler and bluer the light. The lower the number, the warmer and more amber.
For focused computer work, 3500K to 4500K is the practical range. Cool enough to support alertness. Warm enough not to feel clinical.
CRI, or Color Rendering Index, measures how accurately a bulb shows colors. A CRI of 90 or above means the room looks closer to how it looks in daylight. Lower CRI creates a flat, grey cast that makes text harder to read and the room harder to enjoy.
| Light Type | Color Temp (K) | Best For | Glare Risk |
|---|---|---|---|
| Warm white LED | 2700K, 3000K | Evening work, accent lighting | Low |
| Neutral white LED | 3500K, 4000K | All-day computer work | Low to medium |
| Cool white LED | 5000K, 6500K | Detail tasks, drafting | Higher if unshaded |
| Daylight (window) | 5500K, 6500K variable | Ambient fill (when diffused) | High if direct |
| Bias light strip | 6500K behind monitor | Reducing screen contrast | None (indirect) |
The 5'7" Lighting Rule and What It Actually Means for Your Setup
The 5'7" rule, sometimes called the seated eye-level rule, states that no bare bulb or direct light source should sit at or near your eye level when seated. Roughly 57 inches from the floor is where most adults' eyes land when sitting at a desk.
A pendant hung too low, a floor lamp placed directly beside you, or a strip light at monitor height: all create direct glare at the precise angle your eyes are working.
Light sources should sit above this threshold and point downward, or below it and point upward. Anything at eye level either needs a shade, a diffuser, or a new position.
Did you know?
Studies from the Lighting Research Center found that discomfort glare can reduce cognitive performance and increase error rates even when people do not consciously notice the glare. You may feel distracted or slow without connecting it to your light setup at all.
Lighting for Video Calls: How to Look Present, Not Washed Out
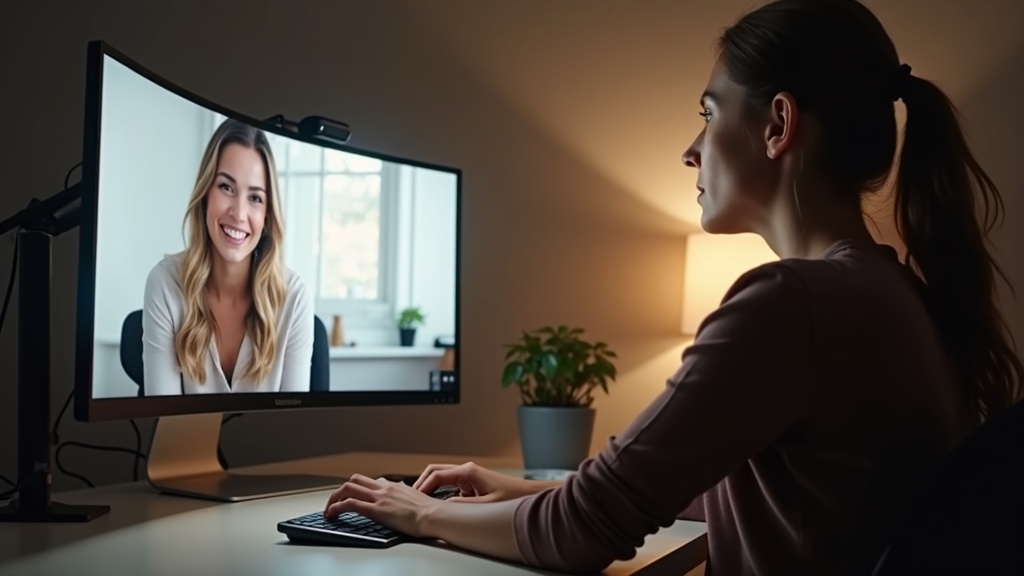
The camera on your laptop sees what your eyes do not: contrast. If the light behind you is brighter than the light in front of you, the camera exposes for the background and turns your face into a silhouette.
One change fixes almost everything. Place a soft, diffused light source in front of you, at or just above eye level. A ring light works, but so does a simple desk lamp with a diffuser shade, or a monitor-mounted panel light set to 3500K.
Avoid sitting with a window directly behind you during calls. If that is your only option, a backlit panel on your desk facing you will rebalance the exposure.
Small Office, Low Ceiling, Rental Walls: Workarounds That Actually Work
Constraints are not obstacles. They are parameters.
Low ceilings
Avoid downlights that create a pool of harsh light directly on the desk. Use a floor lamp that bounces light off the ceiling, or a desk lamp with an articulated arm that can be positioned precisely.
Rental walls (no drilling)
Clip-on task lamps, LED bar lights with magnetic mounts, and freestanding floor lamps require zero fixings. A plug-in wall sconce with an adhesive mount can replace a ceiling fixture entirely in a small space.
Very small rooms
In a small home office, one well-chosen lamp at the right angle outperforms three mediocre ones. Start with a good task light. Add ambient fill second. Keep surfaces matte to avoid turning the room into a mirror.
A Simple Lighting Audit You Can Do in Ten Minutes
Sit at your desk as you normally would. Screen on. Work lighting on. Then work through this list:
- Look at your screen. Can you see any reflection of a window or light source? If yes, that source needs to move or be diffused.
- Look away from the screen toward the brightest part of the room. Does your vision take a moment to adjust when you look back? That contrast gap is the problem.
- Hold your hand flat above your eyes like a visor. If the screen becomes easier to read, there is overhead glare reaching you directly.
- Check your wall behind the monitor. Is it significantly darker than the screen? Add a lamp or bias lighting strip behind the monitor.
- Do a video call test. Open your camera app. If your face is darker than the background, move a light source in front of you.
Fix one thing at a time. Most setups need two adjustments, not ten. Lagom applies here too: not more light, better light. Just enough, placed well, done with intention.


