
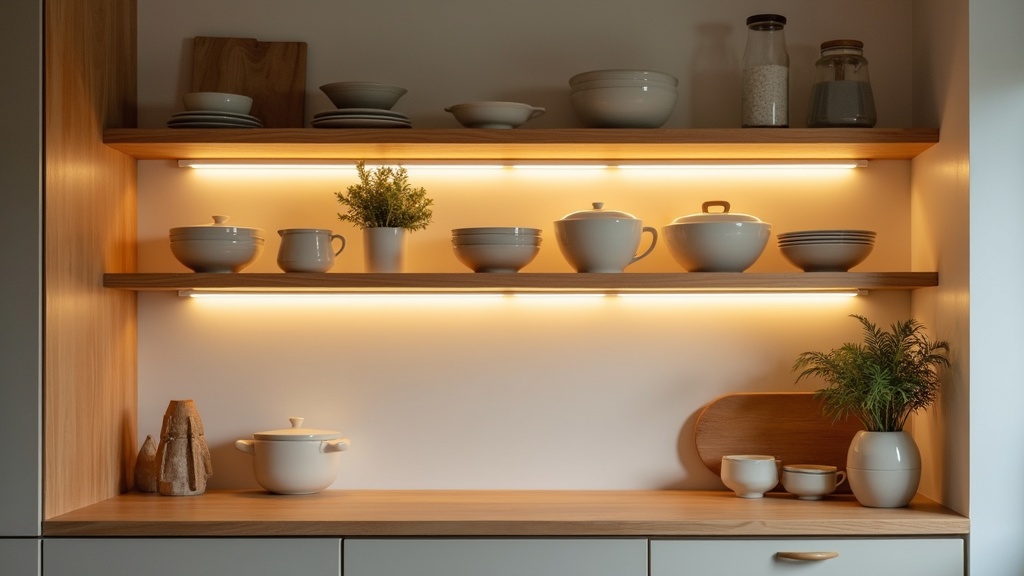
There is a moment, usually in the evening, when you stand in your kitchen and it just does not feel right. The overhead light is too harsh, the shelves look flat, the whole room feels like a waiting room. The shelves are fine. The objects on them are fine. But nothing is lit.
If you rent, you have likely dismissed the idea of doing anything about it. Drilling is off the table. Electricians are not your landlord's priority. But temporary backlighting for rental kitchen shelving has quietly become one of the most effective and genuinely damage-free upgrades a renter can make. You do not need tools. You do not need permission. You need the right approach.
Key points at a glance
- Peel-and-stick LED strips and wireless battery-powered lights are the only truly renter-safe options
- Colour temperature matters more than brightness: 2700K feels warm and lived-in, 4000K feels clinical
- Wireless strips let you light multiple shelves without running visible cables between them
- Hiding the strip under a shelf lip or inside a channel keeps the effect seamless and the hardware invisible
- Removal is clean if you warm the adhesive slowly and use the right residue remover on painted surfaces
What this guide gives you
Why Backlighting a Shelf Changes How a Kitchen Feels
Good lighting does not announce itself. It settles into the room and shifts the mood without you quite noticing how. When light comes from behind objects rather than from above them, it creates depth. The shelf stops being a storage surface and becomes something worth looking at.
In a kitchen, this matters more than in most rooms. You spend time there at all hours, in different states of mind. A well-lit shelf at 7pm, with dinner on the stove and the overhead light dimmed, is a genuinely different experience from a harshly lit work surface at noon.
What Counts as Truly Temporary (and What Does Not)
The word "temporary" gets used loosely. Some products marketed as renter-friendly will still pull paint off a wall or leave adhesive that takes an hour and a bucket of solvent to shift. Truly temporary means: removed cleanly, wall surface unchanged, no tools required.
What passes the test
- Peel-and-stick LED strips with 3M-style VHB tape rated for painted drywall
- Battery-powered wireless puck lights or strip lights that clip or rest in place
- Magnetic mounting systems with no-damage adhesive pads
What does not
- Hardwired under-cabinet lighting that requires an electrician
- Strips attached with construction adhesive or double-sided foam tape not designed for wall removal
- Any product whose mounting hardware requires screws into wood or tile
Did you know?
3M's Command adhesive strips were originally developed for aerospace applications. On standard painted drywall, they can hold up to 7.5 kg per pair when applied correctly to a clean, dry surface. Temperature and surface texture are the two most common reasons they fail early.
The Four Best Options for Rental Kitchen Shelf Backlighting
Each option below works without drilling. They differ in brightness, battery life, flexibility, and how well they handle longer shelf runs.
| Option | Power source | Best for | Watch out for |
|---|---|---|---|
| Peel-and-stick LED strip (USB) | USB plug, wall adapter | Long shelves, consistent brightness | Cable routing near sockets |
| Wireless battery LED strip | AA or AAA batteries | Multiple shelves, no cables | Battery life with heavy use |
| Rechargeable puck lights | USB-C charging | Single shelf accent, easy to move | Uneven light distribution on wide shelves |
| Solar strip (window-adjacent) | Solar panel near window | Eco-conscious setups, low use kitchens | Unreliable in low-light winters |
For most renters, wireless battery LED strips offer the best balance: no socket needed, clean install, easy to light three or four shelves independently. USB-powered strips are brighter and more consistent but require a cable path to a plug.
How to Backlight a Shelf Without Drilling or Damaging Walls
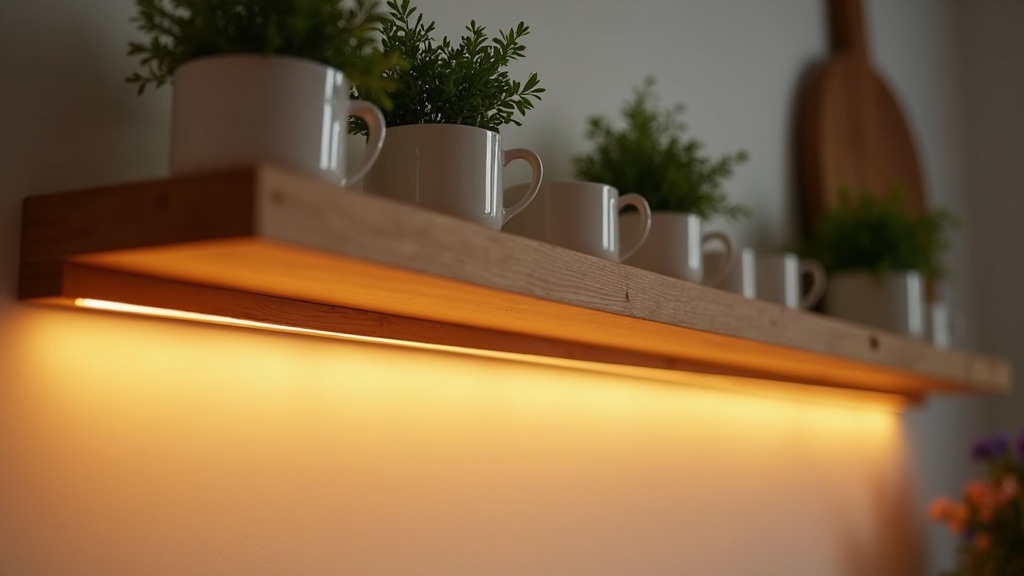
The technique that gets the best result is also the simplest. Place the strip along the underside of the shelf, set back about 2 cm from the front edge. This hides the strip from standing eye level and bounces the light softly down and back.
Step by step
- Wipe the shelf surface with isopropyl alcohol and let it dry for two minutes
- Measure the shelf length and cut the strip at a marked cut-point (usually every 3 LEDs)
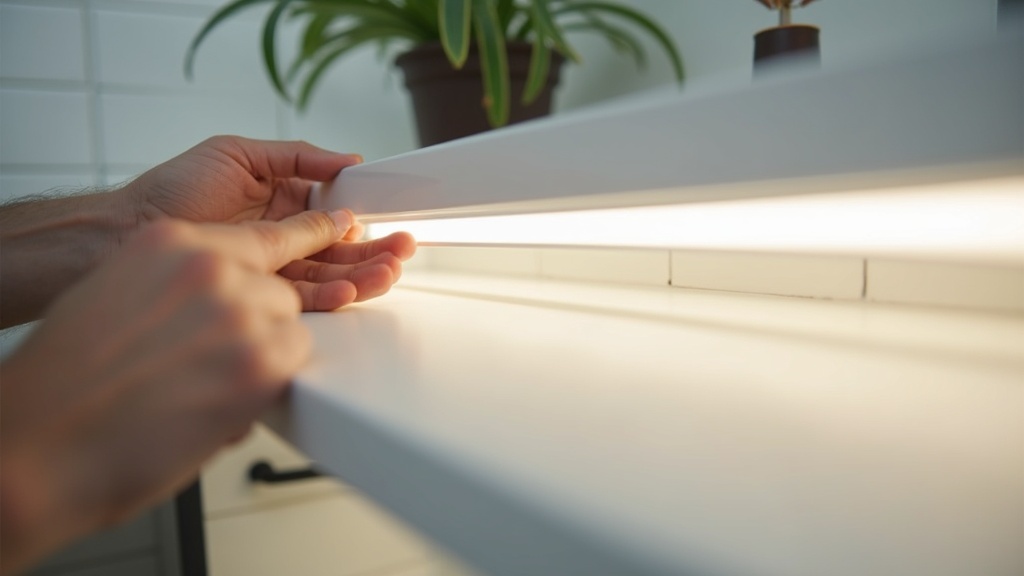
- Peel the backing and press firmly for 30 seconds along the full length
- Wait one hour before switching on, longer in cold rooms: adhesive needs time to bond
Lighting Multiple Shelves Without Running Cables Everywhere
This is where most people get stuck. One shelf with a USB strip looks clean. Three shelves with three cables snaking down to three adapters looks like a cable management problem, not a design choice.
Two approaches that work
Option A: Wireless strips, one per shelf. Each shelf runs on its own batteries. Link them with a shared remote or app so they switch on together. No cables between shelves at all.
Option B: One USB strip with a splitter. Run a single cable from one socket, split it at the top shelf, and use short extensions downward. Route the cable inside a slim adhesive cable channel painted to match the wall. From two metres away, it disappears.
Did you know?
LED strip lights consume roughly 4 to 6 watts per metre, compared to 10 to 15 watts for older fluorescent under-cabinet strips. Running two metres of LED backlighting for four hours every evening adds less than £1 to a typical UK electricity bill per month.
Colour Temperature: The Detail Most People Get Wrong
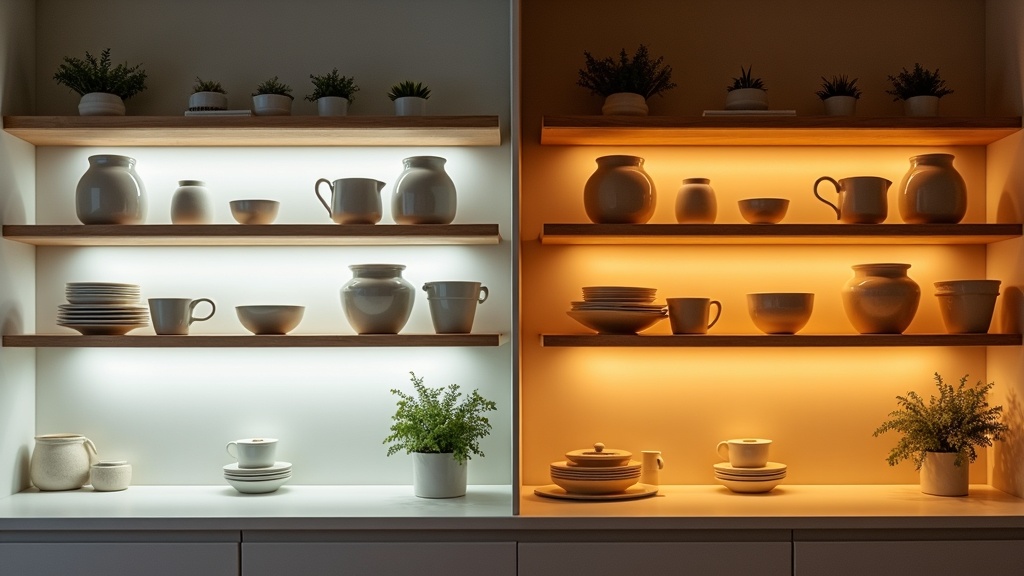
Colour temperature is measured in Kelvin. The number tells you whether the light reads as warm (candle-like) or cool (daylight-like). Most people buy whatever is available and wonder why the result feels wrong.
What works in a kitchen
- 2700K: Warm white. Feels like evening. Works beautifully on wood, ceramics, and terracotta tones. The right choice if you want a kitchen that feels like a place to slow down.
- 3000K: Warm-neutral. A safe middle ground. Flattering on most materials, still usable as task light if the shelf is near the worktop.
- 4000K and above: Cool white to daylight. Feels clinical in a domestic kitchen. Fine for a studio or home office, but wrong for the warmth most kitchens need.
The Swedish concept of lagom applies here: not too warm, not too cool. 2700K to 3000K is just enough, done well.
What to Look for Before You Buy
The market for LED strips is large and uneven. A few specific criteria separate a product that works from one that yellows, dims, or falls off the shelf in three weeks.
- Adhesive quality: Look for 3M backing specifically, or strips that list VHB (Very High Bond) tape. Generic adhesive fails on painted surfaces within weeks.
- LED density: Higher density (60 LEDs per metre and above) means no visible hotspots. Below that, you often see individual dots rather than a smooth wash of light.
- CRI rating: Colour Rendering Index. A CRI above 90 means the light shows the true colours of your objects. Below 80, ceramics look muddy and plants look grey.
- Dimmability: Not essential, but worthwhile. A shelf at full brightness during dinner prep should sit at 30% during a quiet evening meal.
- IP rating for kitchen proximity: If the shelf sits close to a hob or a sink, an IP44 or higher-rated strip handles moisture and occasional splashes.
Before You Leave: How to Remove Everything Without a Trace
The removal stage is where renters lose their deposits, not the installation. Do it slowly and it is completely reversible.
The process
- Use a hairdryer on a low-heat setting, held 3 to 5 cm from the strip for 20 to 30 seconds. Heat softens the adhesive and prevents paint from pulling.
- Peel at a very low angle (almost parallel to the surface), not outward. Slow and steady.
- For any adhesive residue, apply a small amount of isopropyl alcohol or a citrus-based adhesive remover to a soft cloth. Blot, do not rub.
- Cable channels come off the same way. Work corner to corner, heat first, low angle.
Test on a small, hidden section of wall first if the paint is old or thin. Some landlord-grade emulsion is only one coat thick and will lift with almost any adhesive. Knowing this before you install is better than discovering it when you leave.


