
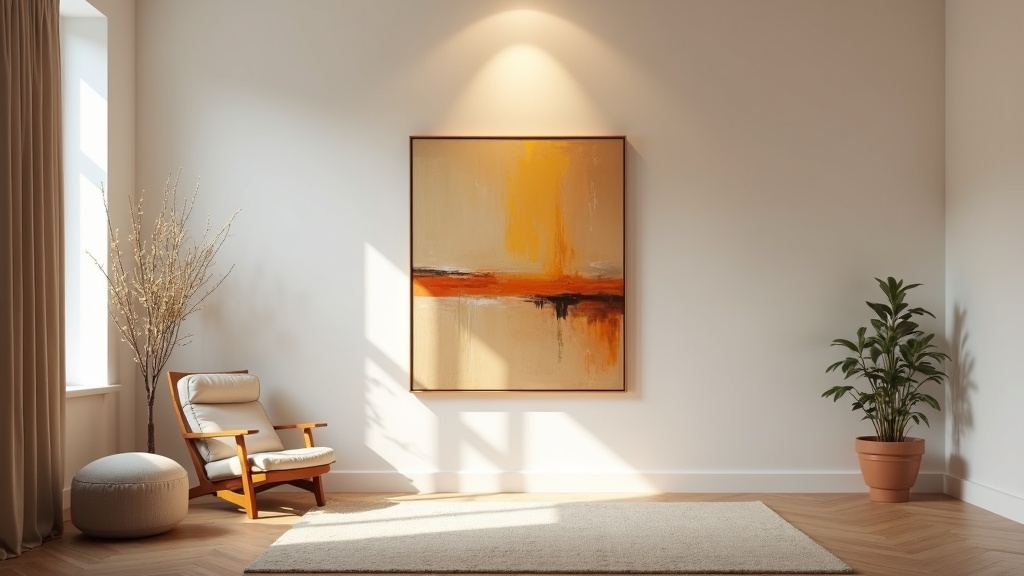
A piece of art you love can disappear on a wall. Not because it is the wrong piece, but because the light is wrong. Move the beam two inches, change the angle by ten degrees, and the same painting breathes.
Spotlight placement for artwork and sculptural objects is not a technical puzzle. It is a quiet skill, and once you understand a handful of principles, you will not need to guess again.
Key points at a glance
- Angle matters more than wattage: 30 to 35 degrees is the standard starting point for flat art
- Sculptures need light from at least two directions to reveal depth and avoid flat shadows
- Beam width should match the size of the piece, not the wall
- The ideal fixture-to-wall distance sits between 24 and 36 inches for most residential ceilings
- The 2/3 rule, the 5\'7" rule, and the 70/30 rule each solve a different part of the placement problem
- Good results are possible without track systems or rewiring
What you gain from getting this right
Why Placement Matters More Than Wattage
Most people solve art lighting by buying a brighter bulb. It rarely works. A flood of even light flattens texture, erases contrast, and turns a painting into wallpaper.
Placement is direction. Direction is drama. Where the beam originates, the angle it travels, the distance it keeps from the wall: these are the variables that determine whether art lives or disappears.
Good lighting does not announce itself. It settles into the room and changes how it feels. That is exactly what you are aiming for here.
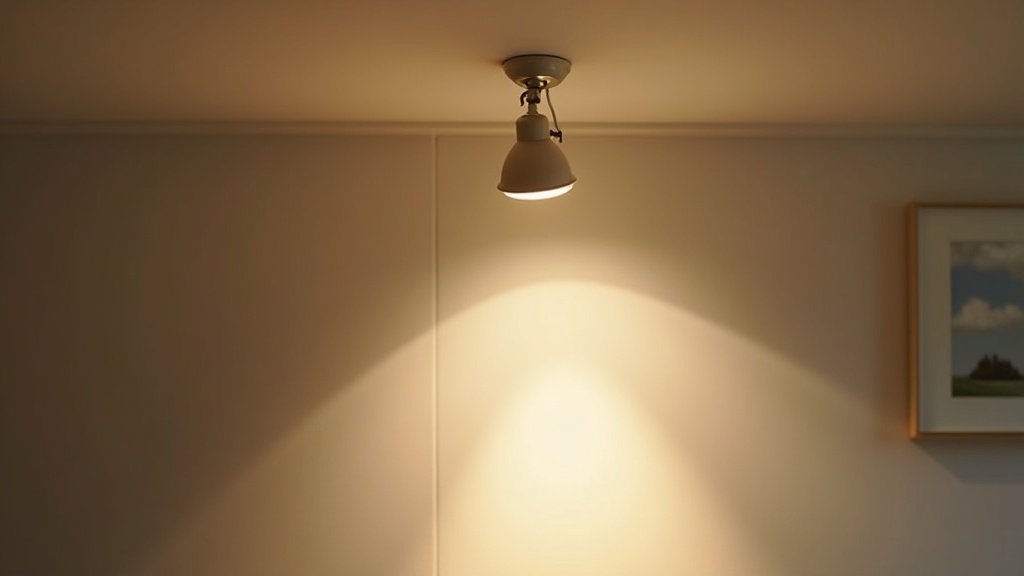
The 30 to 35 Degree Rule: Where to Start With Flat Artwork
For paintings, prints, and framed photographs, 30 to 35 degrees from the vertical is the standard art spotlight angle. It is not arbitrary.
Less than 30 degrees and you get harsh glare across the surface, especially on oil paintings or anything behind glass. More than 45 degrees and the light skims the wall, creates hot spots at the top, and leaves the lower portion in shadow.
Thirty to thirty-five degrees lands light evenly across the piece while preserving enough contrast to make texture visible. Start there. Adjust by five degrees in either direction once the fixture is in place.
Did you know?
The Illuminating Engineering Society recommends a maximum vertical illuminance of 200 lux on matte surfaces and 50 lux on sensitive works on paper, to balance visibility with long-term conservation of pigments and dyes.
How to Light a Sculpture: Angles, Shadows, and the Third Dimension
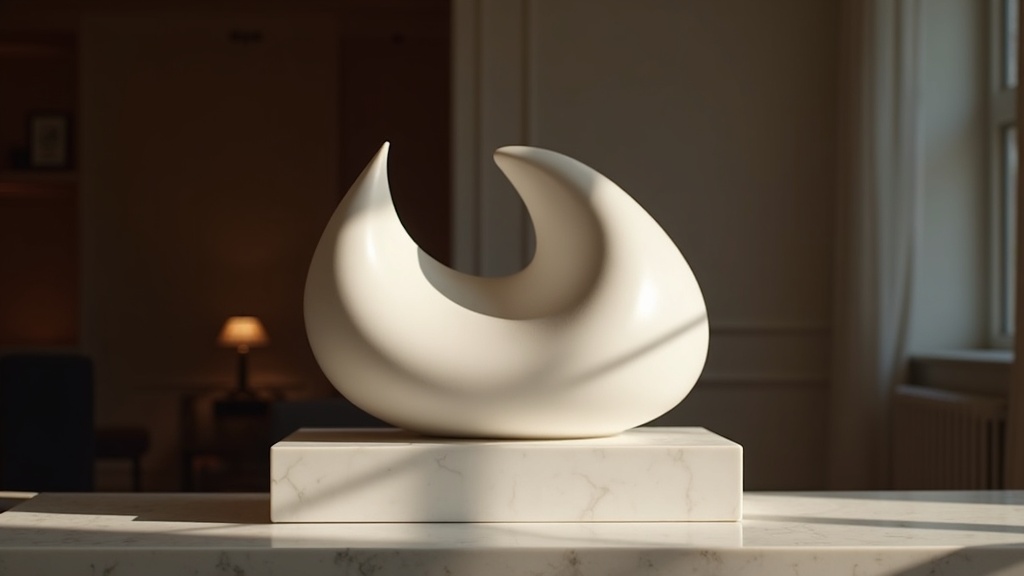
Sculpture lighting techniques differ from flat art lighting in one fundamental way: the object has depth. That depth is the point. Light from a single direction will flatten it.
Use at least two light sources
A primary light illuminates the sculpture at 30 to 45 degrees from the front. A secondary light, placed at a different horizontal angle, fills the shadows just enough to keep them readable rather than black.
The ratio matters. One dominant, one subordinate. Matching intensities from two sides creates a flat, clinical look, like a medical photograph rather than a lit object.
Work with shadow, not against it
For indoor statue lighting, shadow is not a problem to eliminate. It is part of how a three-dimensional form communicates itself. Let it fall. Adjust the secondary light until the shadow reads as depth, not darkness.
Choosing the Right Beam Width for the Piece in Front of You
Beam angle for art lighting is measured in degrees. A narrow beam (10 to 20 degrees) concentrates light on a small area. A wide beam (40 to 60 degrees) spreads it broadly.
- Small to medium paintings (up to 60 cm wide): 15 to 25 degree beam
- Large paintings and wall installations: 30 to 40 degree beam, or two narrow fixtures side by side
- Sculptures on plinths: 15 to 25 degrees for the primary, 25 to 40 for the fill
- Display shelves with multiple objects: 40 to 60 degree flood to cover the run
The beam should cover the piece and just slightly beyond. Spilling light onto blank wall around a small painting makes the painting look smaller, not larger.
Distance From the Wall: The Numbers That Actually Work
For a standard 2.7 metre ceiling, the fixture should sit 60 to 90 cm from the wall. This gives you the geometry to hit a 30 to 35 degree angle without fighting physics.
Pull closer than 60 cm and the angle steepens toward 45 to 60 degrees: glare on top, shadow at the bottom. Move further than 90 cm and the beam disperses before it reaches the art with any real presence.
Higher ceilings allow more distance. A 3.5 metre ceiling can comfortably place the fixture 90 to 120 cm from the wall at the same effective angle. The principle scales linearly.
| Ceiling Height | Fixture-to-Wall Distance | Resulting Beam Angle |
|---|---|---|
| 2.4 m | 50 to 70 cm | 30 to 35° |
| 2.7 m | 60 to 90 cm | 30 to 35° |
| 3.0 m | 75 to 105 cm | 30 to 35° |
| 3.5 m | 90 to 120 cm | 30 to 35° |
| 4.0 m+ | 110 to 140 cm | 30 to 35° |
The 70/30 Rule, the 5\'7" Rule, and the 2/3 Rule Explained Simply
Three rules come up repeatedly in track lighting for artwork and gallery design. Each one addresses a different question.
The 5\'7" rule
Hang the centre of the artwork at eye level: 57 inches (145 cm) from the floor. This is the standard in most museums and galleries. It means the beam from a correctly positioned ceiling fixture falls naturally at the right vertical angle without recalculation.
The 2/3 rule
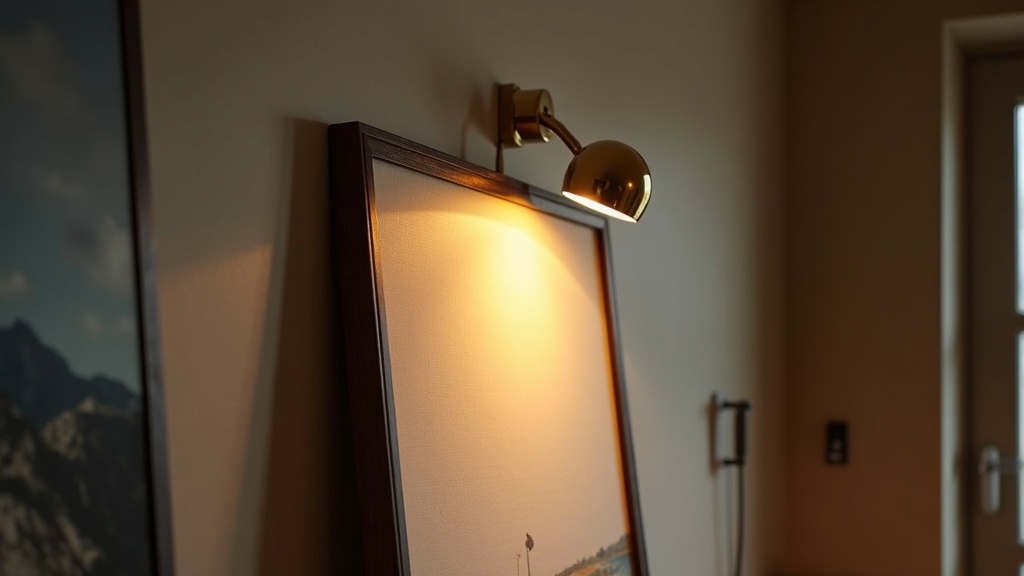
For picture light placement on the wall: mount the fixture so the light source sits at roughly two-thirds of the artwork's height from the bottom. This keeps the illumination balanced top to bottom rather than pooling at the upper third.
The 70/30 rule
In a well-lit room, aim for 70 percent ambient light and 30 percent accent light. Over-accenting art creates a theatrical effect that can feel exhausting to live with. Lagom applies here as much as anywhere: not too much, not too little. Just enough to let the piece speak.
Did you know?
The 57-inch hanging rule originates from the average human eye height in a standing position. Major institutions including MoMA and the Tate use it as a baseline, adjusting only for oversized works or deliberate spatial decisions by the artist.
DIY Spotlight Placement Without Track Systems or Rewiring
You do not need a track system or an electrician to do this well. Several product categories make correct spotlight placement accessible in any rental or existing home.
- Plug-in picture lights: Mount directly to the frame or wall above the painting, powered by a standard socket. Look for models with adjustable necks.
- Clip-on accent spotlights: Attach to a shelf, cabinet top, or floor-standing pole. Excellent for sculptures on plinths.
- Plug-in track adapters: Some track rail systems mount with adhesive or surface screws and plug into a socket. No ceiling work needed.
- LED floor uplighters: For large sculptures, a narrow-beam floor uplight adds drama and reveals form from below, a technique common in museum display design.
Common Mistakes That Flatten Art Instead of Lifting It
Most bad art lighting comes from the same handful of errors. Recognising them makes them easy to avoid.
- Using ambient light only. Overhead ceiling diffusers give even, flat illumination. They show you the art but do not light it.
- Beam too wide for the piece. Light spilling across empty wall diminishes the work rather than framing it.
- Wrong colour temperature. Anything above 3500K reads as cold and clinical on warm-toned paintings. Stay at 2700K to 3000K for most residential collections.
- Glare on glass. If the beam angle is too shallow and the fixture is too far to the side, reflections wash out the image. Tilt back toward vertical in small increments until the reflection disappears.
- Lighting a sculpture from one side only. The unlit side goes black. The form reads as two-dimensional, which is precisely what you are trying to avoid.
A Simple Process for Getting It Right in One Evening
Hang the artwork or position the sculpture first. Get everything in place before you touch a single light.
Then dim your ambient lighting to about 30 percent so you can see what the accent light is actually doing. Position your spotlight, turn it on, and step back to the viewing distance you use from a sofa or chair. That is the only distance that matters.
Adjust the tilt in small steps. Look for even coverage across the surface, shadow that reads as depth rather than absence, and no visible glare. If you are lighting a sculpture, add the secondary source only after the primary is dialled in. Then balance them against each other.
The whole process takes twenty to forty minutes. Light placed right does more for a room than any renovation. It is worth the twenty minutes it takes.


