
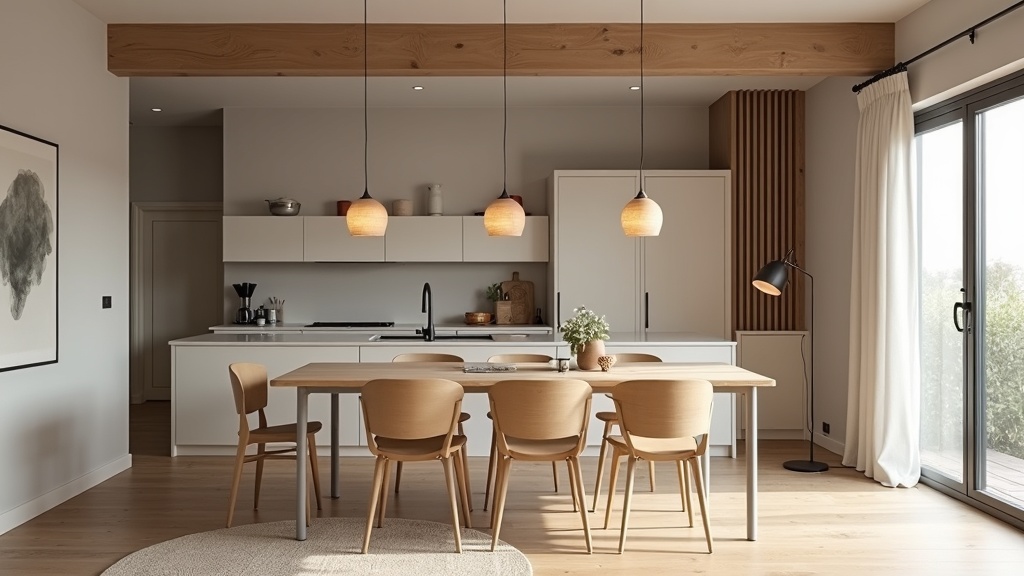
Most open concept rooms are over-lit in one spot and forgotten in three others. The ceiling fixture works hard. Everything else is an afterthought. The result is a space that looks fine in photos and feels flat to live in.
Good lighting doesn't announce itself. It settles into the room and changes how it feels. Getting there in an open plan space means thinking in zones first and fixtures second.
Key points at a glance
- Zone the space before choosing any fixture
- Every zone needs three layers: ambient, task, and accent
- One focal fixture per zone anchors the layout without crowding it
- Coordinating means sharing a finish or tone, not matching exactly
- Color temperature is what separates a warm room from a cold one
- Portable lamps do as much work as hardwired fixtures, often more
What a good lighting layout gives you
Why open concept spaces are so hard to light well
A single room has a clear boundary. You light the center, add a lamp in the corner, done. An open plan space has no walls to stop the eye, no natural interruptions to guide the light.
The temptation is to compensate with more fixtures. But more is rarely the answer. The problem isn't quantity. It's structure. Without a plan, you end up with a kitchen that's blazing white and a living area that's dim and uninviting, all under the same ceiling.
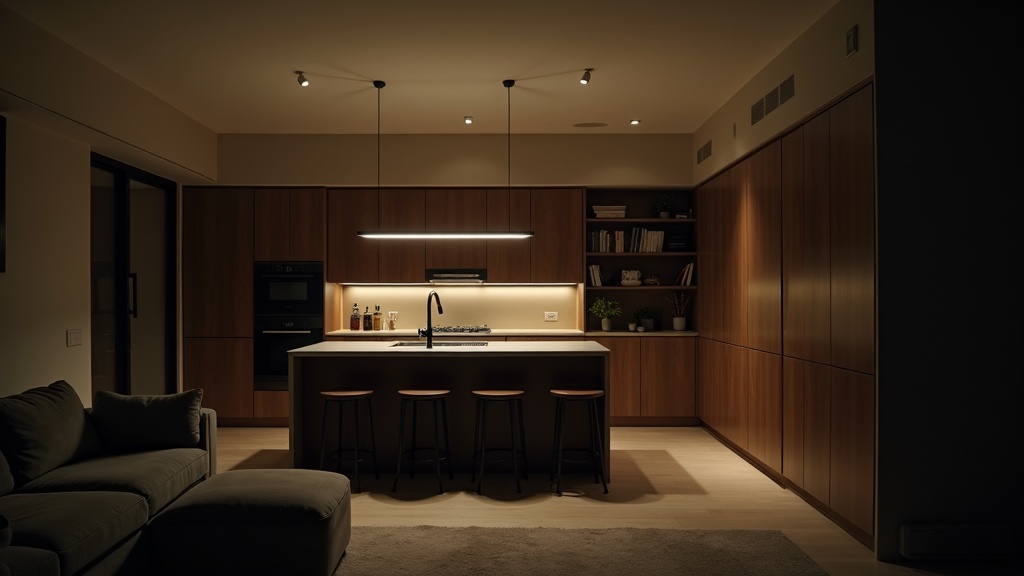
Start with zones, not fixtures
Before you open a single product tab, draw the floor plan. Mark each functional area: kitchen prep, dining, living, reading nook, whatever exists in your space. These are your zones.
Each zone should feel like its own room when the right lights are on. Treat them independently first, then think about how they talk to each other.
Common zones in an open plan space
- Kitchen work surface and island
- Dining table
- Lounge and seating area
- Reading or work corner
- Entry or transition area
The three layers every open plan room needs
Layered lighting is the foundation of any well-lit room, open plan or not. In an open space, it matters even more because each layer does a different job in every zone.
Ambient light
This is the base. It fills the room with general illumination. Recessed downlights, ceiling pendants, or a track system all work here. It shouldn't be doing everything on its own.
Task light
Directed, functional light for specific activities. Under-cabinet strips in the kitchen. A reading lamp beside the sofa. A pendant low over the dining table. Task light is where the room becomes useful.
Accent light
This is what gives a room texture. A small spotlight on a shelf, a candle-warm table lamp, a lit alcove. Accent light is what you notice when everything else is dim. It's what makes a room feel alive at 9pm.
Did you know?
Studies in environmental psychology show that people consistently rate rooms with layered, lower-level lighting as more comfortable and socially inviting than rooms lit entirely from the ceiling, even when total light output is the same.
How to anchor each zone with a focal fixture
Every zone needs one fixture that acts as its visual anchor. This doesn't have to be the brightest light in the zone. It needs to be the one that says: this area has a purpose.
Over a dining table, a pendant hung at the right height does this immediately. In the living area, a sculptural floor lamp beside the sofa. In the kitchen, a pair of pendants over the island. One anchor per zone. Not two, not none.
Connecting zones: how to coordinate without matching
Coordinating doesn't mean buying the same fixture in three sizes. That reads as a showroom, not a home.
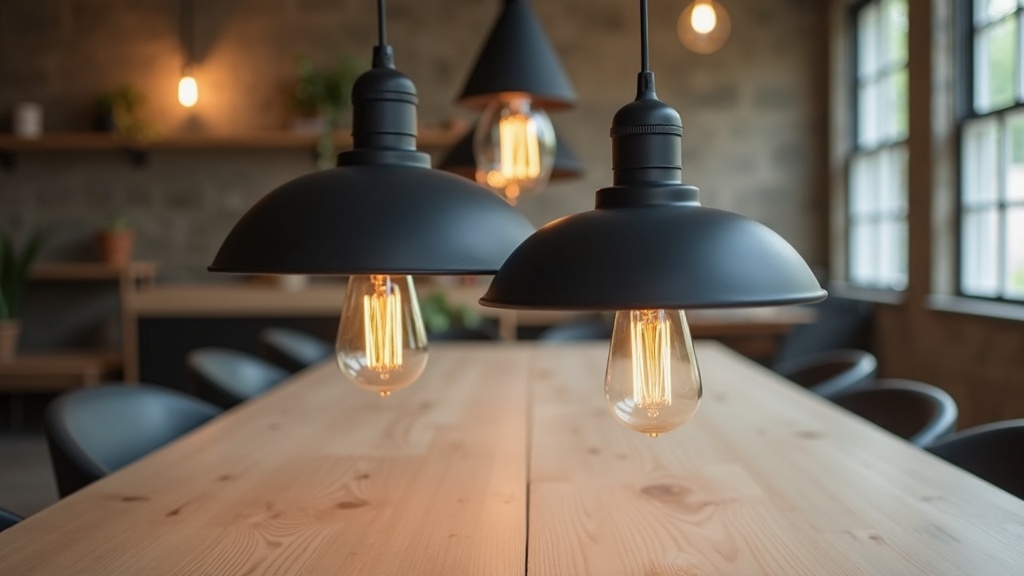
Instead, find a common thread. A shared metal finish, a repeated bulb shape, a consistent color temperature across zones. The eye reads harmony through repetition of detail, not repetition of form.
Simple ways to create visual cohesion
- Stick to one metal finish across all hardwired fixtures (brushed brass, matte black, satin nickel)
- Use the same bulb color temperature throughout (more on this below)
- Repeat a material: linen shades in two different zones, for example
- Keep scale proportional, larger fixture for the largest zone
| Zone | Recommended anchor fixture | Supporting layer |
|---|---|---|
| Kitchen island | 2 pendants, 75, 85 cm above surface | Under-cabinet LED strip |
| Dining table | Single pendant or cluster, 70, 80 cm above table | Dimmer switch |
| Living seating | Arc or tripod floor lamp | Table lamp, candles or low shelf light |
| Reading nook | Adjustable wall sconce or task lamp | Ambient from nearby zone |
| Entry/transition | Wall light or small pendant | None needed |
The role of portable lighting in an open plan space
Portable lamps are underrated. They require no electrician, no planning permission, no rewiring. You move them, adjust them, swap them out seasonally.
In an open plan room, a well-placed floor lamp can define a zone more clearly than a ceiling fixture costing three times as much. It brings the light source down to human level, which is almost always where it should be in a living area.
If you rent, or simply don't want to commit to hardwiring, portable lighting is your most powerful tool. A tall arc lamp over a sofa, a small table lamp on a sideboard, a rechargeable light on a shelf: these do the job quietly and well.
Color temperature: the detail most people get wrong
This is the one that quietly ruins otherwise good layouts. Color temperature is measured in Kelvin. Lower numbers are warm and amber. Higher numbers are cool and white.
For living areas, 2700K to 3000K is the sweet spot. It reads as warm, residential, and human. Anything above 3500K starts to feel clinical. It belongs in a hospital corridor, not above your sofa.
The mistake in open plan spaces: mixing temperatures across zones. Cool white in the kitchen, warm amber in the living room. Standing in the middle of the space, the eye catches the conflict immediately. Pick one temperature and hold it across the entire floor plan.
Did you know?
The human eye is most sensitive to contrast in lighting color at the periphery of vision. This means mismatched color temperatures in an open plan room are noticed subconsciously even before a person can articulate what feels off.
Small open concept rooms: how to light without crowding
In a compact open plan space, the risk is adding too many fixtures and making the ceiling feel lower and the room feel busier. Lagom applies here: not too much, not too little.
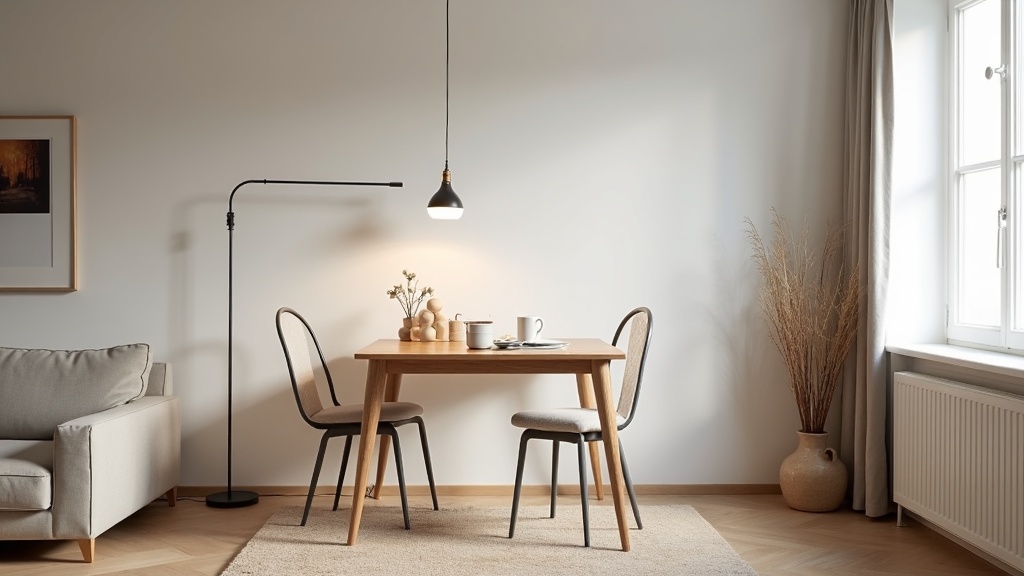
Principles for smaller spaces
- Prioritize floor and table lamps over ceiling-heavy layouts
- One pendant maximum per zone, keep it simple in form
- Mirrors and light-colored walls will amplify what you already have
- Dimmer switches on everything: they give you range without adding fixtures
A simple layout checklist before you buy anything
Light placed right does more for a room than any renovation. This checklist takes ten minutes and saves hours of second-guessing.
- Map your zones. Draw them on paper. Name each one.
- Identify the task in each zone. What happens there? Cooking, eating, reading, relaxing?
- Plan three layers per zone. Ambient, task, accent. Even if some layers share a fixture.
- Choose one anchor fixture per zone. Don't skip this step.
- Decide on your metal finish. One finish for all hardwired pieces.
- Set your color temperature. 2700K to 3000K for the whole floor plan.
- Add dimmers wherever possible. This is the cheapest upgrade on the list.
- Fill gaps with portable lamps. No rewiring needed, maximum flexibility.
We design for the way you actually live, not for a showroom. A room that works at 7am over coffee and at 10pm over a glass of wine needs layers, not more lumens.


